A great solution to this struck me as I was falling asleep a few nights ago (strange how the brain works): I won't need the expansion boxes anymore, so I could cannibalize those into smaller boxes.
After a lot of careful measuring, I took the expansion box lids and scored them across the top in three places with a pair of scissors and a ruler, creating straight fold-lines. Then I trimmed off the bottom edge and a portion of each side, and folded on my scored lines. I made my boxes a few eights of an inch taller than they are wide, but I think an even square (i.e. three equally spaced score marks on the lid) would be just fine, maybe even better, since a couple of mine turned out to be a tighter fit than I intended.
I kept the two corners in the upper portion of the lid intact, so it could serve as a lid on my smaller box, hinging at one of my folds. I folded the whole thing up and, after some final trimming, I taped the corners together. I also supported each folds with a strip of tape, to make sure they don't wear out and fall apart later.
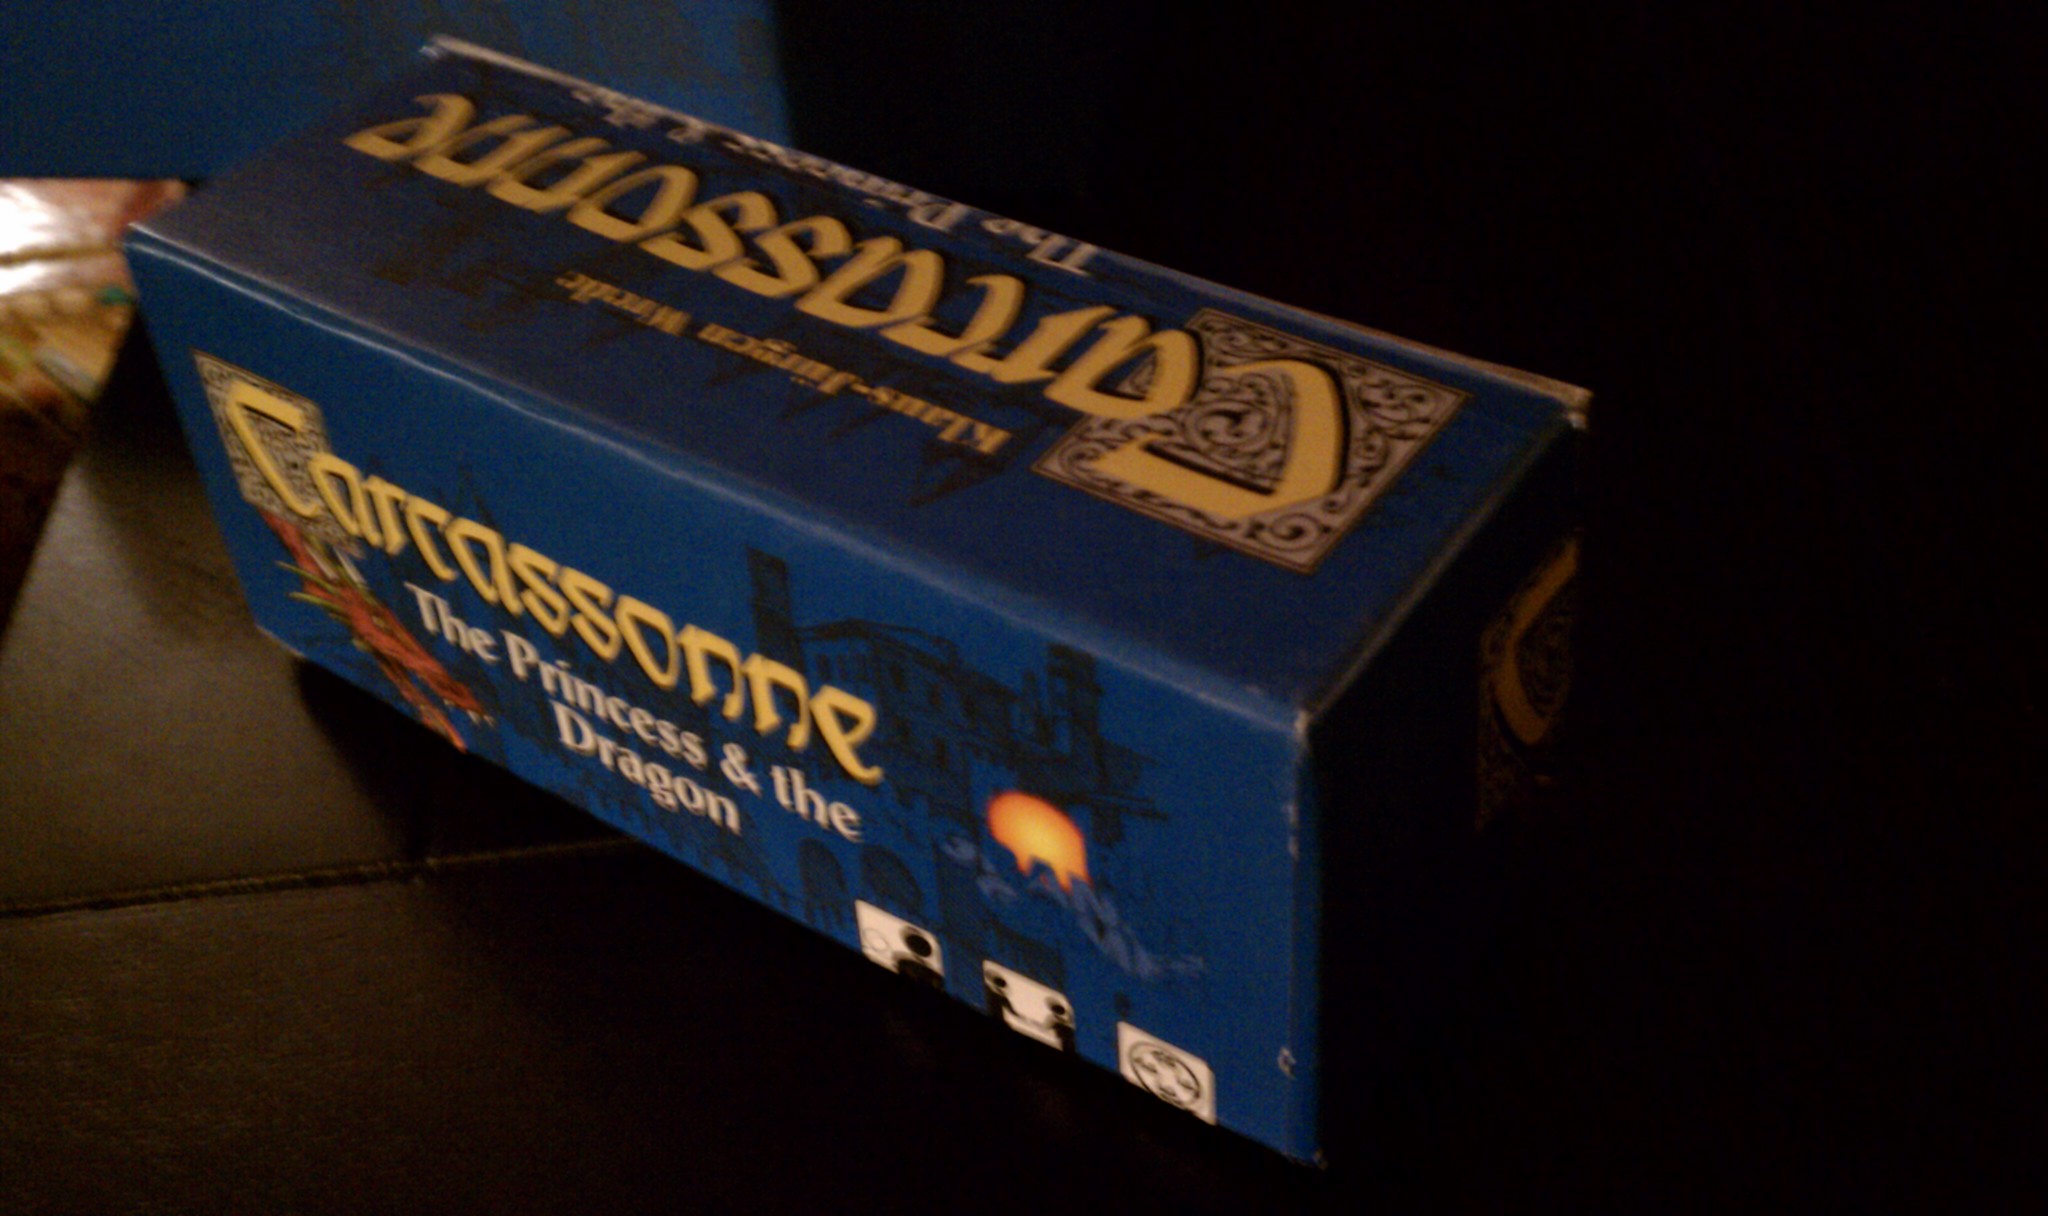
The new box with hinged lid closed:

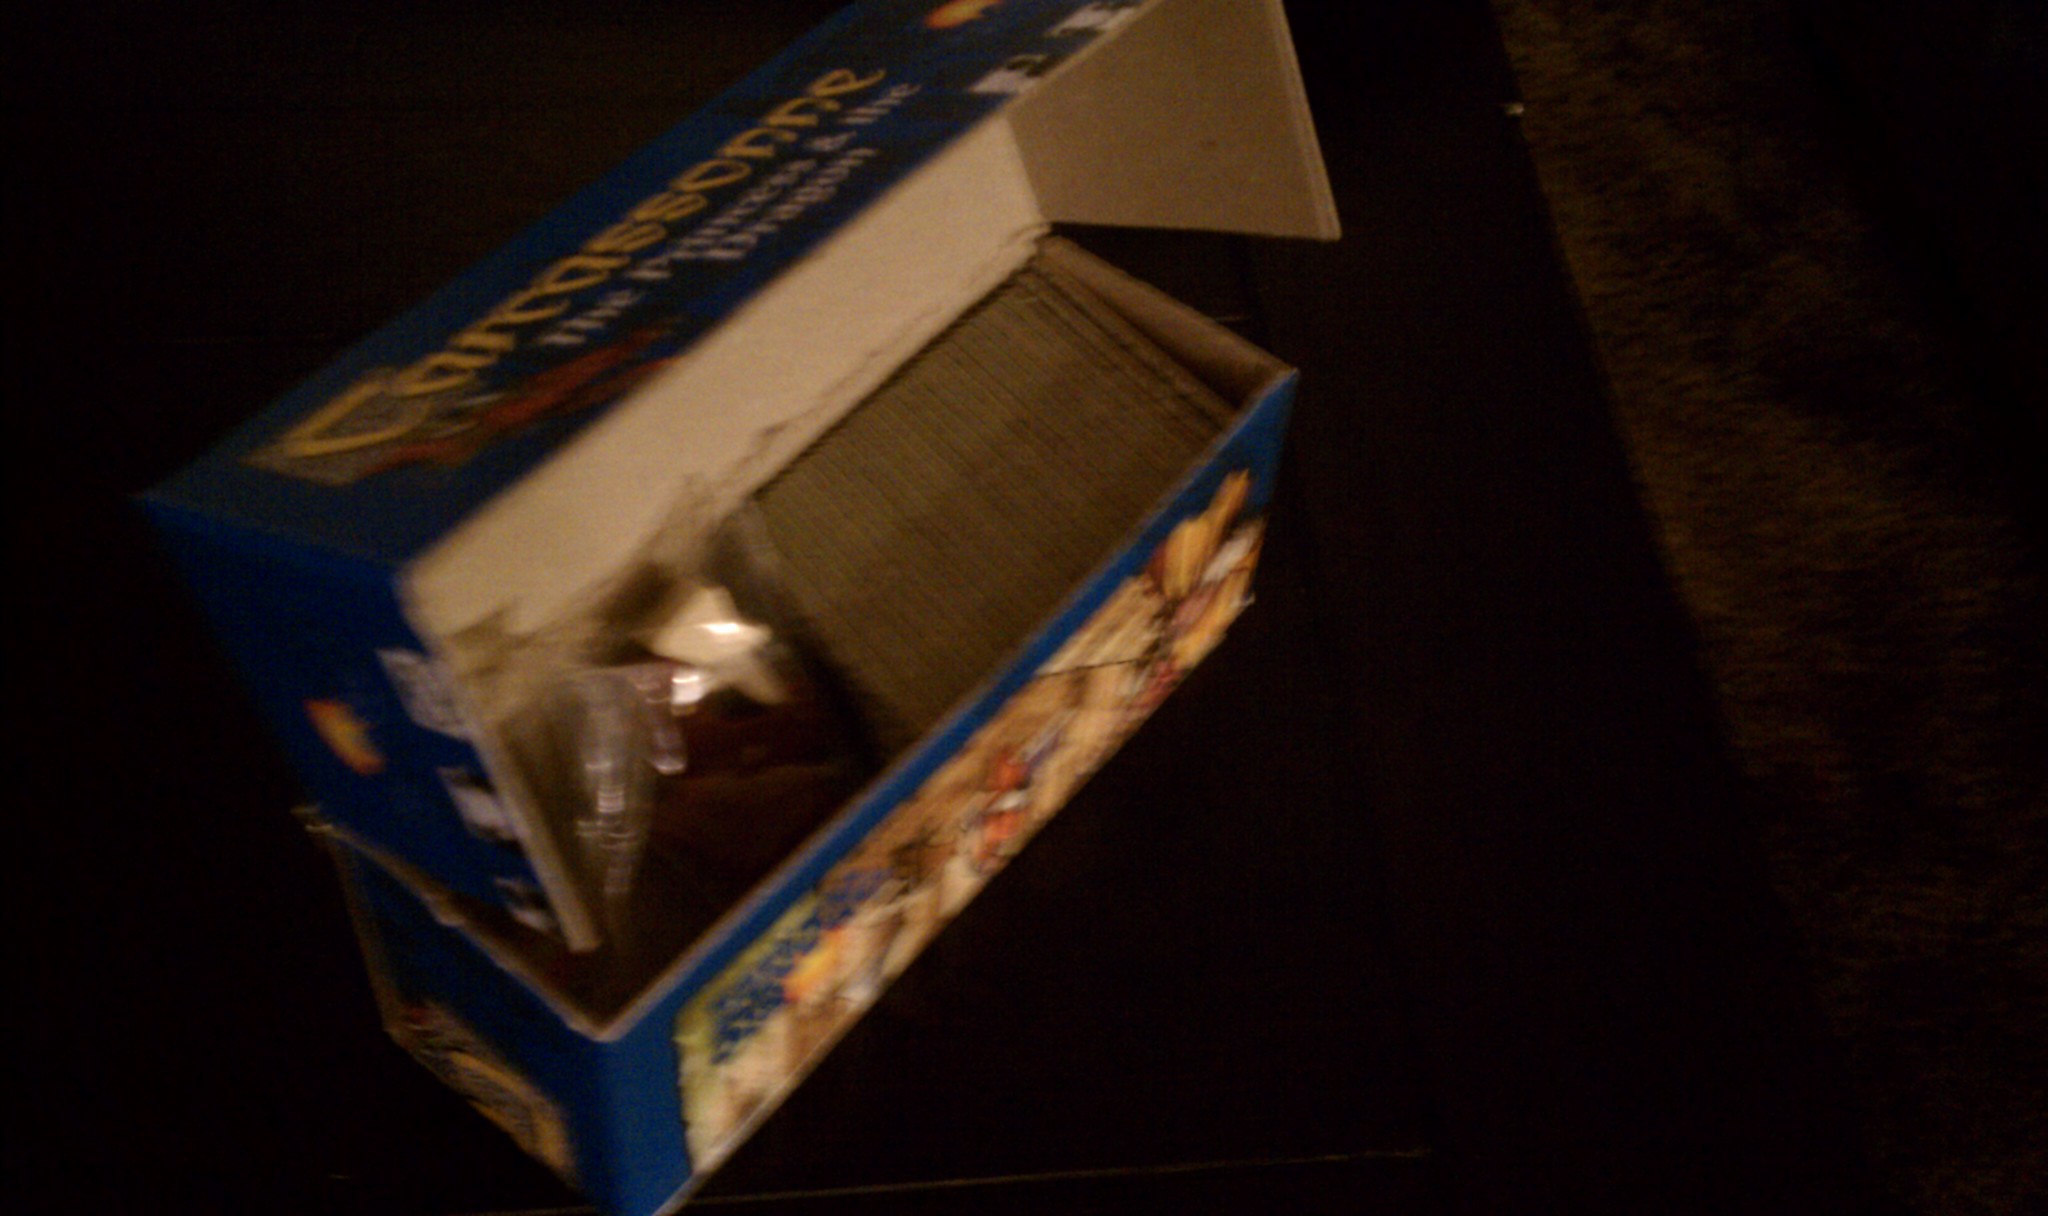
The box holds tiles and a baggie with game pieces. The lid is the intact portion from the top of the original box lid. The front, bottom, and back are all from the top of the original lid, all rolled up along my score marks. I kept a square from the sides of the original lid for the end pieces of the box.

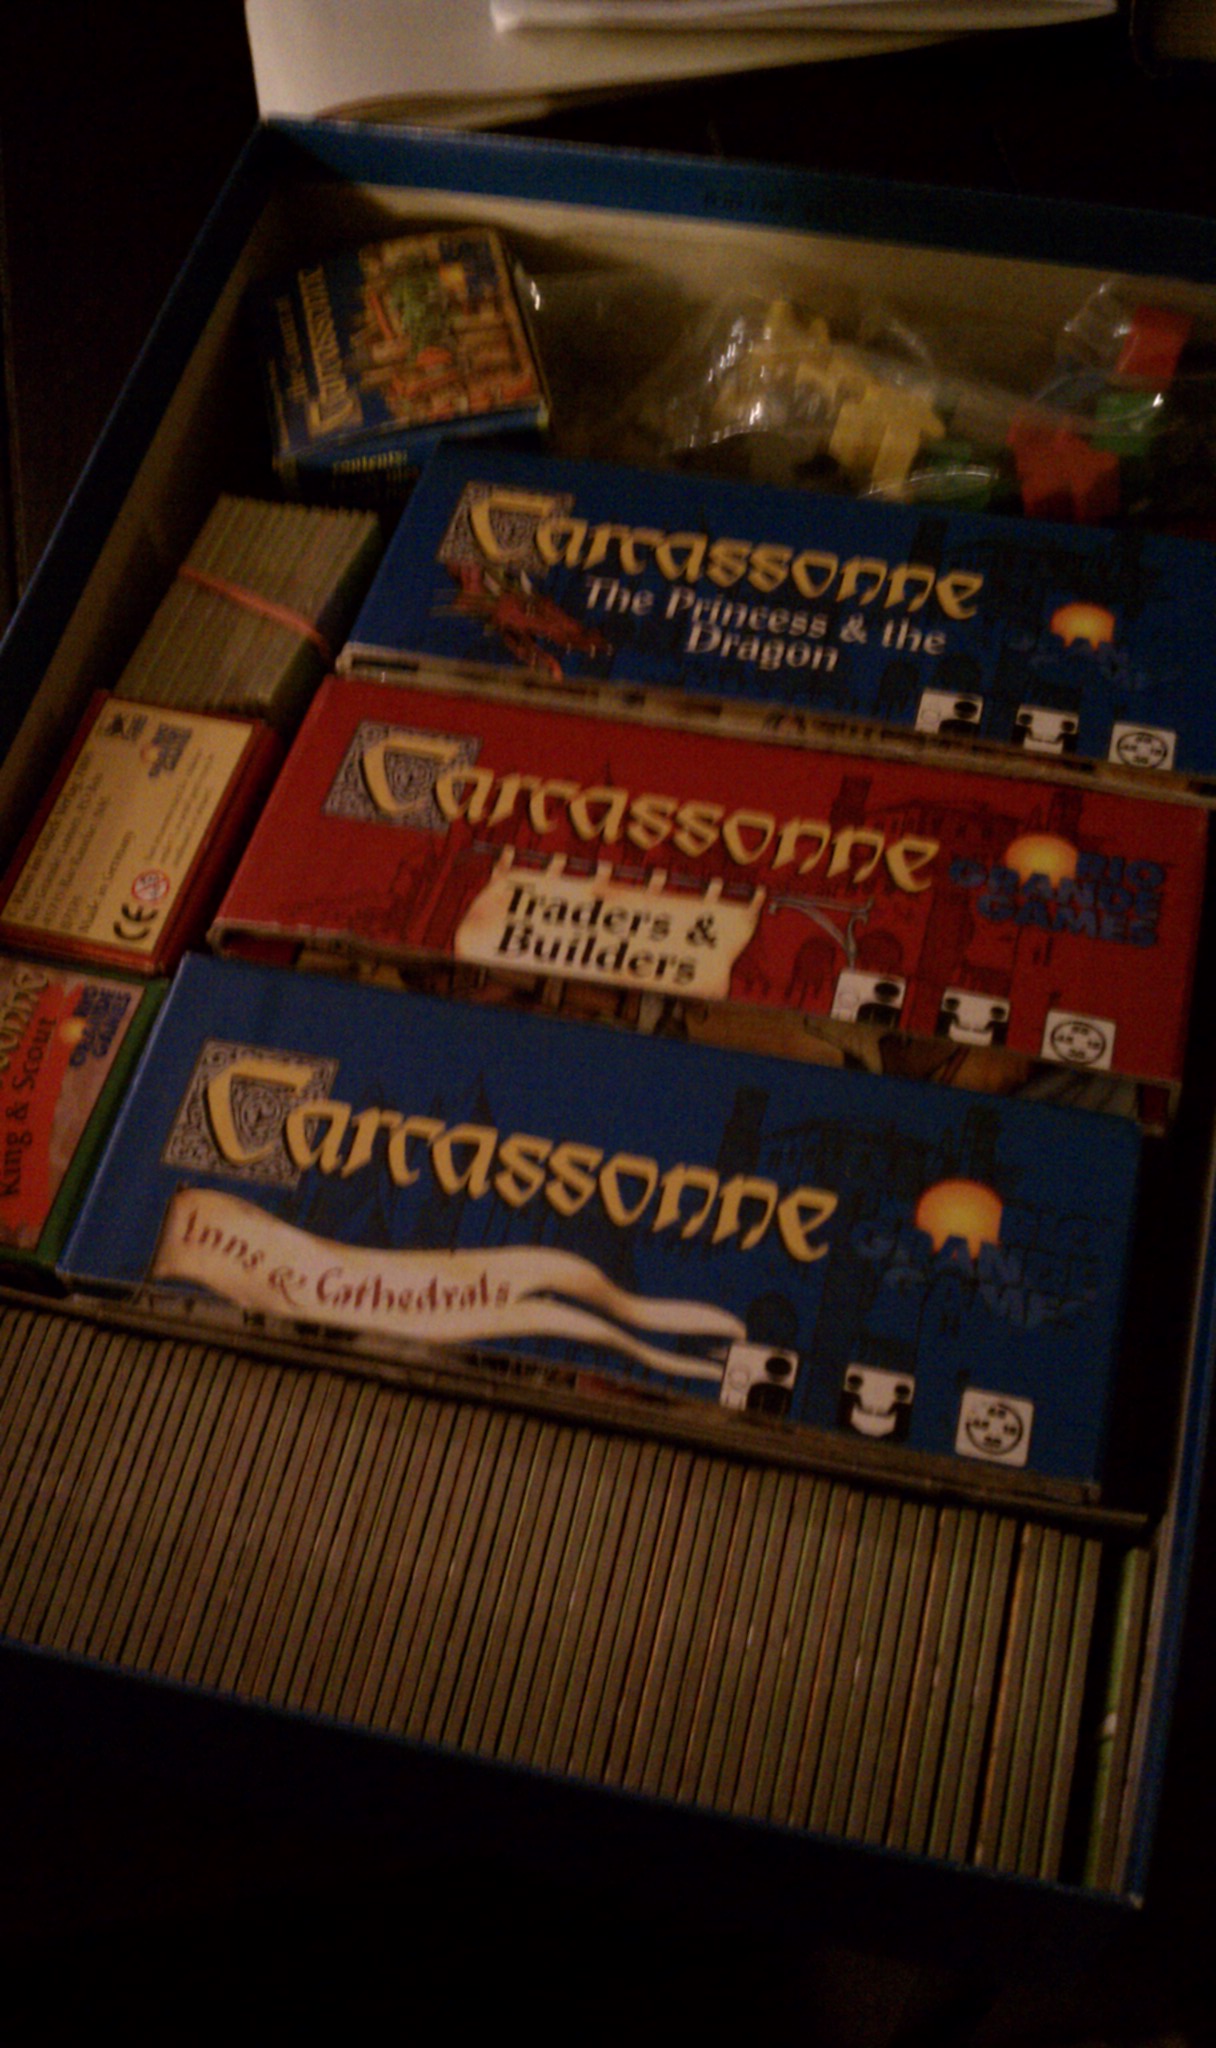
I trimmed the original cardboard insert and just kept the long narrow part that holds the tiles (bottom of last photo, below). This left room for my three re-sized expansion boxes (Princess, Traders, and Inns), plus my small expansions (The Count, King & Scout, River II, and River (rubberbanded)) and my meeples in a bag.
I'm not sure if all Carcassonne expansions would fit using this method, but I own most of them, and it fit nicely for me.

Edit
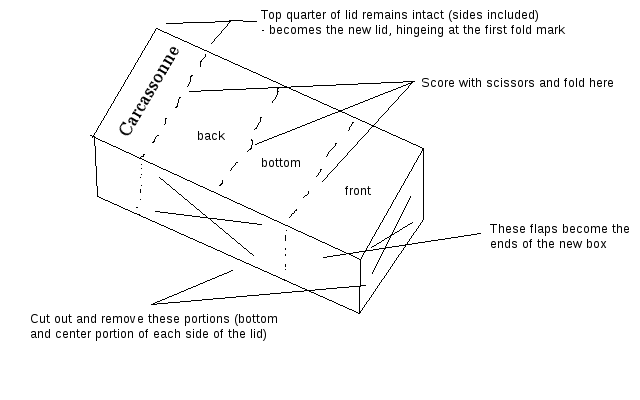
My attempt at a diagram. This is the expansion box lid in original form, with cuts and folds marked. Create a mock-up with a piece of scratch paper first, if that helps.
Use scissors to score the three dashed lines across the top of the box (equally spaced).
Cut out the X'd portions - the entire bottom edge and the center portion of each side edge.
Fold the three scored marks to transform the large surface of the original lid into the front, back, bottom, and top of the new box. The top edge of the original lid will now be the front flap of the new box.
The new lid will be just a little too tall for your new box, so trim it to match.
Tape up the corners. You can also tape the folded edges for durability.


